The Radio Pack (RP) can be configured depending on user preferences. The following settings and processes can be found in the Radio Pack’s menu under User Settings. These settings can also be managed using CrewWare (see
Selecting Headset Mic Type
Select from Auto-Detect, Dynamic, or Electret mic type. If selecting Auto-Detect, you must first have a headset connected to the RP for a microphone to be detected. If you select a mic type that does not match the detected type of the connected mic, you will be prompted to accept the exception.
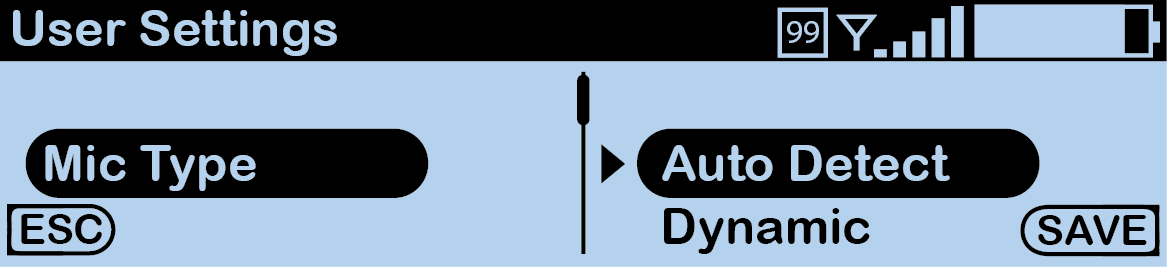
Selecting Mic Type
Adjusting Mic Gain
When the Mic Gain is set too high, it is possible to induce feedback or echo. When set too low, words can be clipped by the low level noise gate, or may sound too quiet to other listeners. Different models of headsets will require widely varying mic gain settings.
- Access the RP menu and select User Settings. Press F2 (ENT).
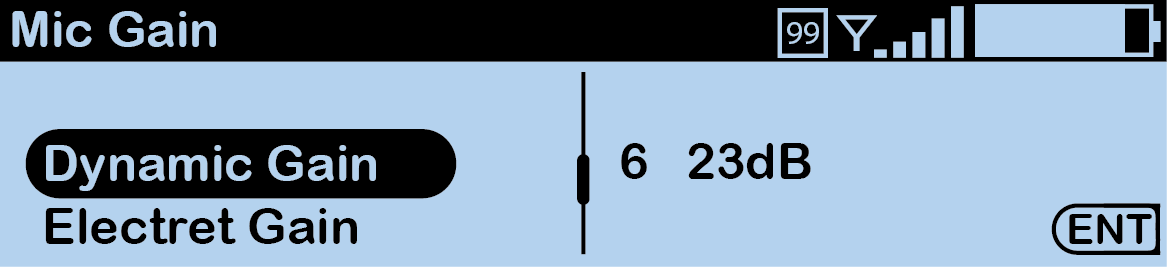
- Scroll and select Mic Gain. Press F2 (ENT).
- Scroll and select either Dynamic Gain or Electret Gain. The current mic gain setting will be displayed on the right-hand side. Press F2 (ENT) to view a list of available setting options.
- Use the far-right volume knob (or volume buttons on CRP-C12) to increase or decrease the Mic Gain level. For dynamic microphones, select from within a range of +6 to +35 dB. For electret microphones, select from within a range of -12 to +17 dB.
- Press F2 (SAVE). Once saved, the screen will return to the previous menu.
Adjusting Mic Gain
Adjusting Noise Gate
The noise gate is used to set the minimum audio threshold necessary to allow audio to pass from the headset microphone through to the rest of the system. When the audio level from the microphone is below this threshold, the gate is closed and the audio is muted. When the audio level from the microphone is above this threshold, the gate is open and audio passes. Setting the noise gate threshold too high can cause the beginning of words to be cut off or make the audio sound choppy, so Pliant recommends setting the noise gate as low as possible.
Adjust your Radio Pack noise gate threshold using these steps:
- Access the RP menu and select User Settings. Press F2 (ENT).
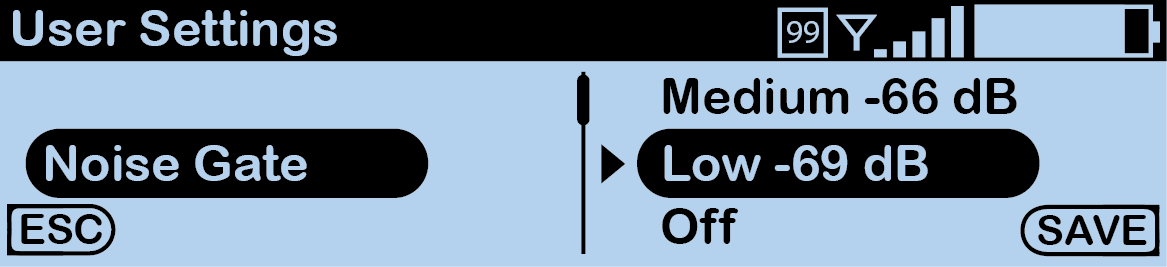
- Scroll and select Noise Gate. The current noise gate setting will be displayed on the right-hand side. Press F2 (ENT) to view a list of available setting options.
- Scroll to select from the range of options: Very High -60, High -63, Medium -66, Low -69, and Off. These options correspond to a range of levels from -60 dB (very high) to -∞ (off).
- Press F2 (SAVE). Once saved, the screen will return to the previous menu.
Adjusting Noise Gate
Adjusting Sidetone
Speak into the headset microphone at a typical speaking level and adjust the sound of your own voice in your headset. Adjust your Radio Pack sidetone using these steps:
Tip: Set this sidetone as low as comfortable for the user to insure best performance. Setting the sidetone too high will cause the user to speak softly and cause poor audio performance.
- Access the RP menu and select User Settings. Press F2 (ENT).
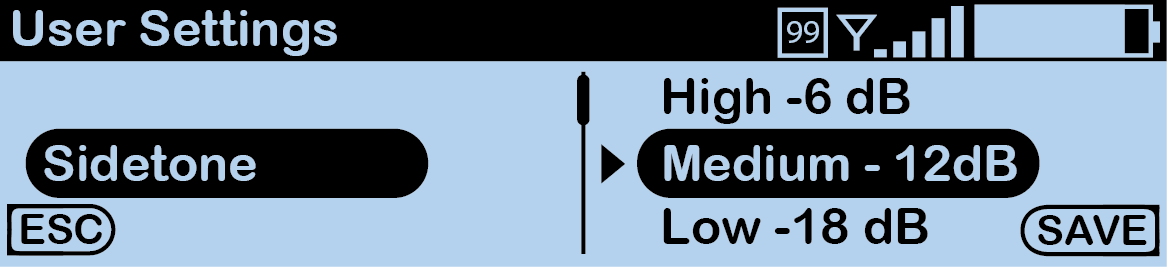
- Scroll and select Sidetone. The current sidetone setting will be displayed on the right-hand side. Press F2 (ENT) to view a list of available setting options.
- Scroll to select from the range of options: Very High 0, High -6, Medium -12, Low -18, and Very Low -24. These options correspond to a range of levels from 0 dB to -24 dB.
- Press F2 (SAVE). Once saved, the screen will return to the previous menu.
Adjusting Sidetone
Adjusting Volume Limit
The Radio Pack is capable of adjusting a minimum and maximum volume limit for each conference assignment. Adjust your Radio Pack volume limit using these steps:
Adjusting Volume Limits
- Access the RP menu and select User Settings. Press F2 (ENT).
- Scroll and select Min Volume. The current minimum settings for each volume knob will be displayed on the right-hand side. Press F2 (ENT) to view a list of available setting options.
- Turn each corresponding volume knob to increase or decrease the volume level to your desired limit within a range of 0 to 19 with 0 being OFF. This range corresponds to a range from OFF (-57 dB) to +3 dB.
- Press F2 (SAVE). Once saved, the screen will return to the previous menu.
- Access the RP menu and select User Settings. Press F2 (ENT).
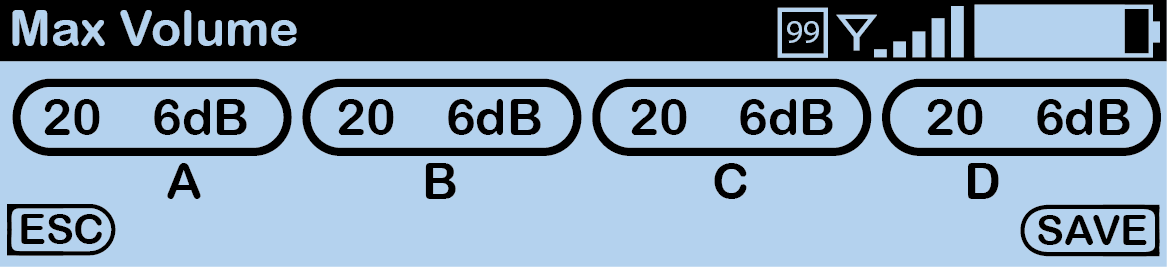
- Scroll and select Max Volume. The current minimum settings for each volume knob will be displayed on the right-hand side. Press F2 (ENT) to view a list of available setting options.
- Turn each corresponding volume knob to increase or decrease the volume level to your desired limit within a range of 1 to 20. This range corresponds to a range from -53 dB to +6 dB.
- Press F2 (SAVE). Once saved, the screen will return to the previous menu.
Adjusting Talk Tones
Enabling Talk Tones gives the user audible feedback when a talk button is pressed to talk on a conference. Adjust your Radio Pack talk tones using these steps:
- Access the RP menu and select User Settings. Press F2 (ENT).
- Scroll and select Talk Tones. The talk tones setting will be displayed on the right-hand side. Press F2 (ENT) to view a list of available setting options.
- Scroll to select either On or Off.
- Press F2 (SAVE). Once saved, the screen will return to the previous menu.

Adjusting Talk Tones