This functions allows the user to put together a system very quickly and without using the CrewWare software application. Upon initial power on, the CU will display the menu shown in Control Unit Menus. The following is a step-by-step of the CU Auto Configure process.
Note: Auto Configure will only configure the system for Normal Operational Mode. If more customization is required or a larger system needs to be deployed, the CrewWare application can be used to create a tailored system configuration specific to your application.
Note: To connect non-primary CUs, see Add More CrewCom Devices. Up to 3 non-primary CUs can be added to a system. See below diagrams and System Diagram Tab for more information on building system diagrams in CrewWare.
- Select Auto Configure.
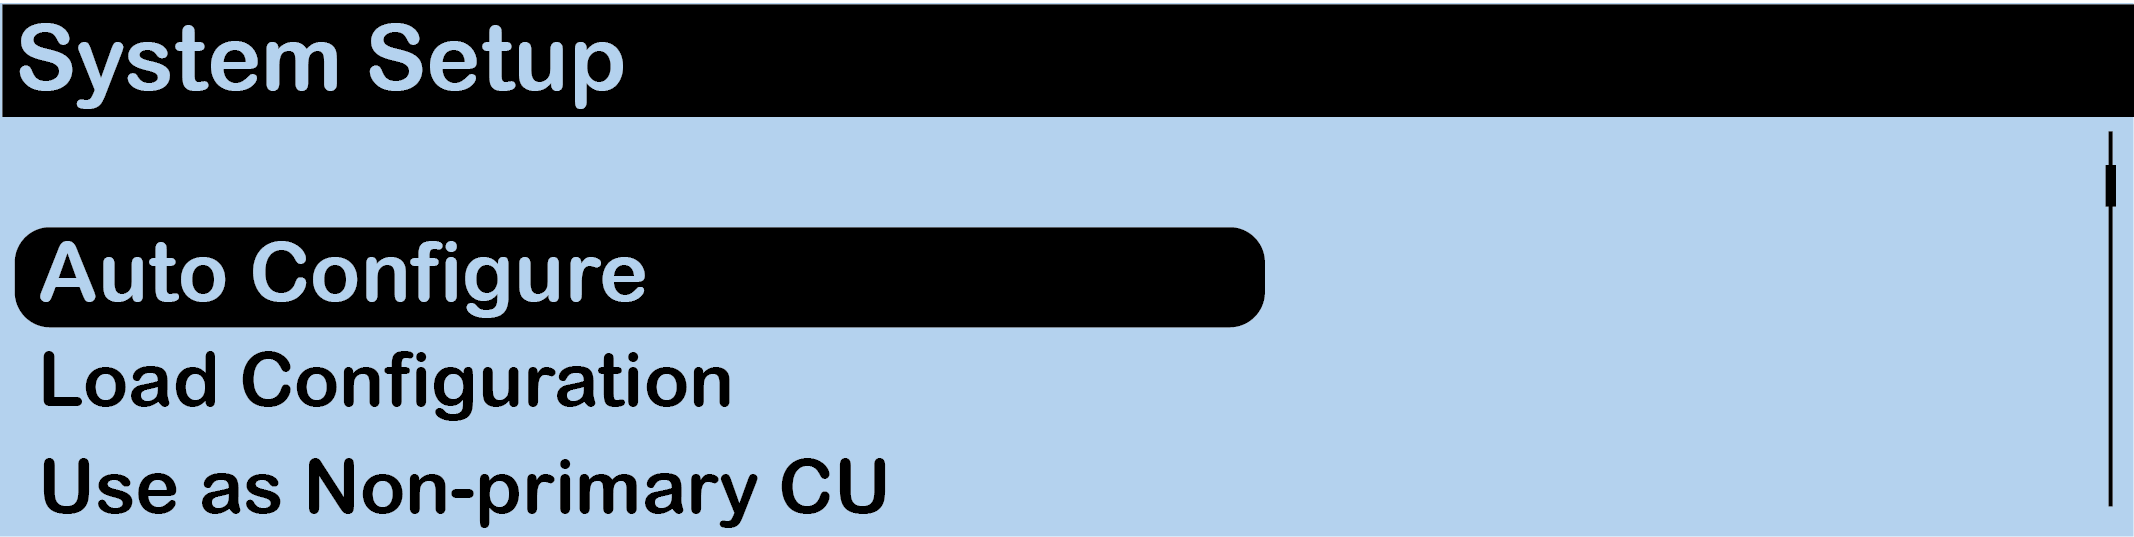
CU LCD: Auto Configure
- Connect and power on up to three Radio Transceivers. Select OK.
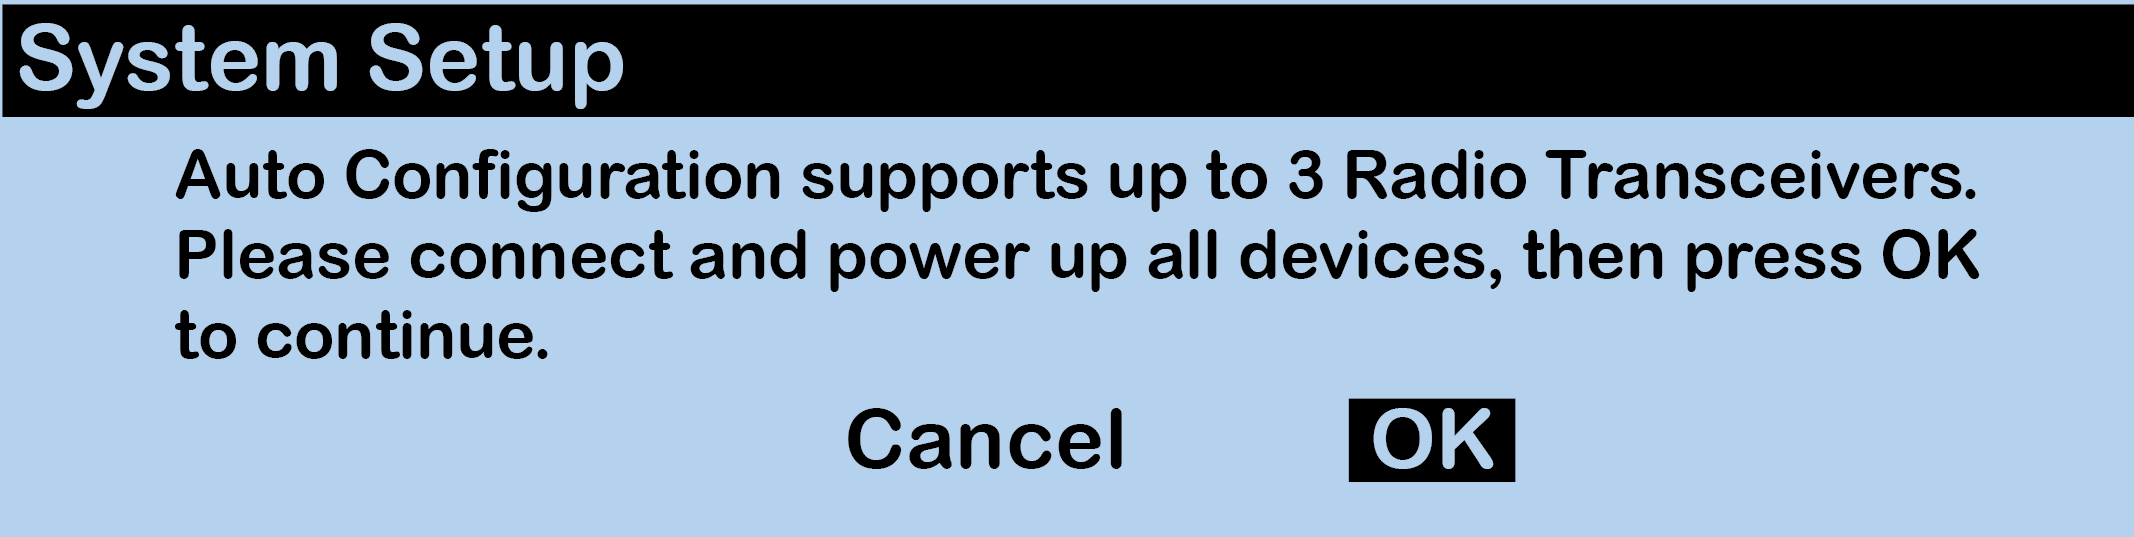
CU LCD: Power On Devices
- The CU LCD will indicate how many RTs have been detected. Once all RTs have been detected, select OK.
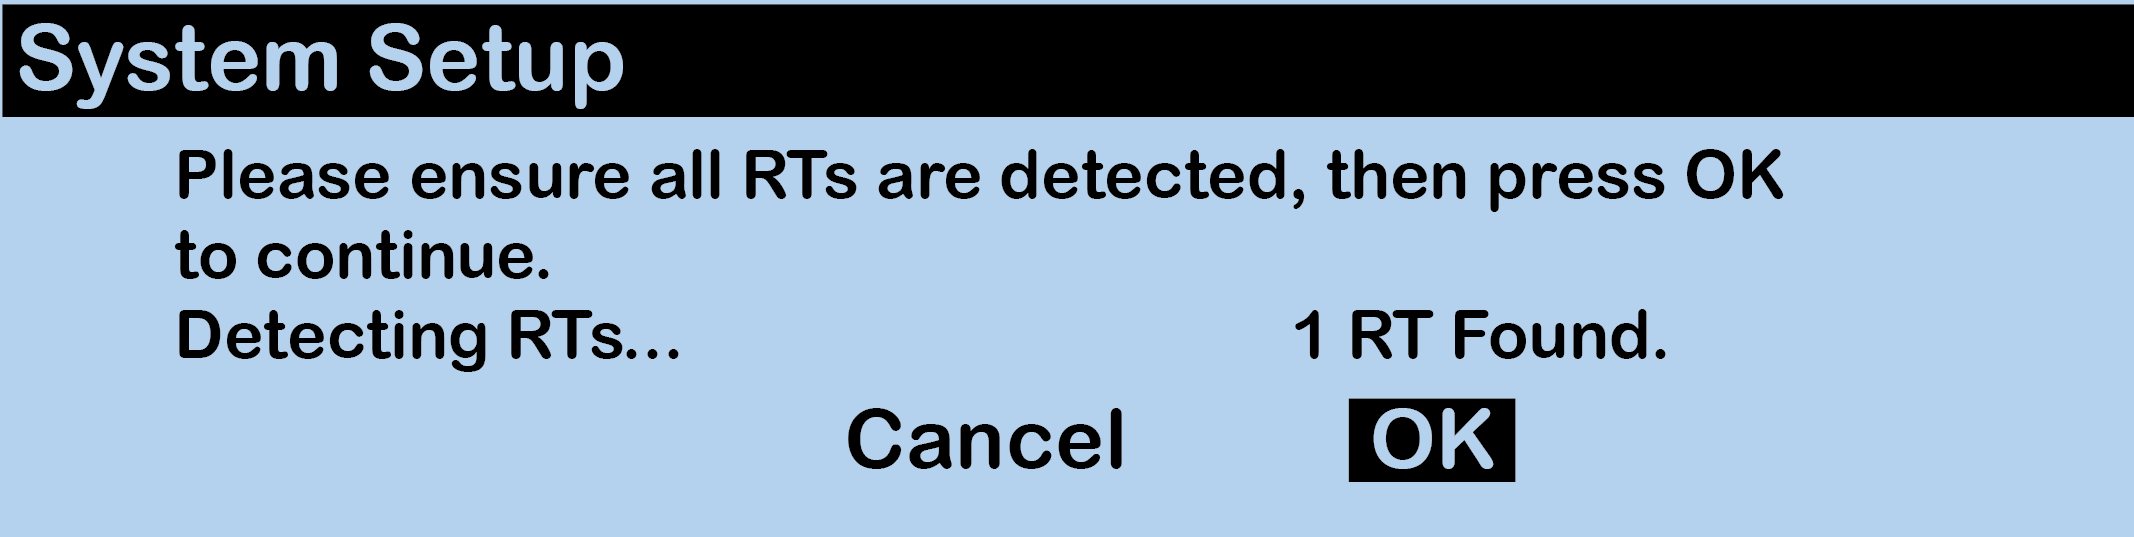
CU LCD: Radio Transceivers Detected
- Select Yes to Auto Configure the system.

CU LCD: Configure Radio Transceivers
- The CU LCD will show a progress bar for configuring.

CU LCD: Configuring System
- Upon completion, the CU LCD will show the message below. Select OK.

CU LCD: Auto Configuration Complete
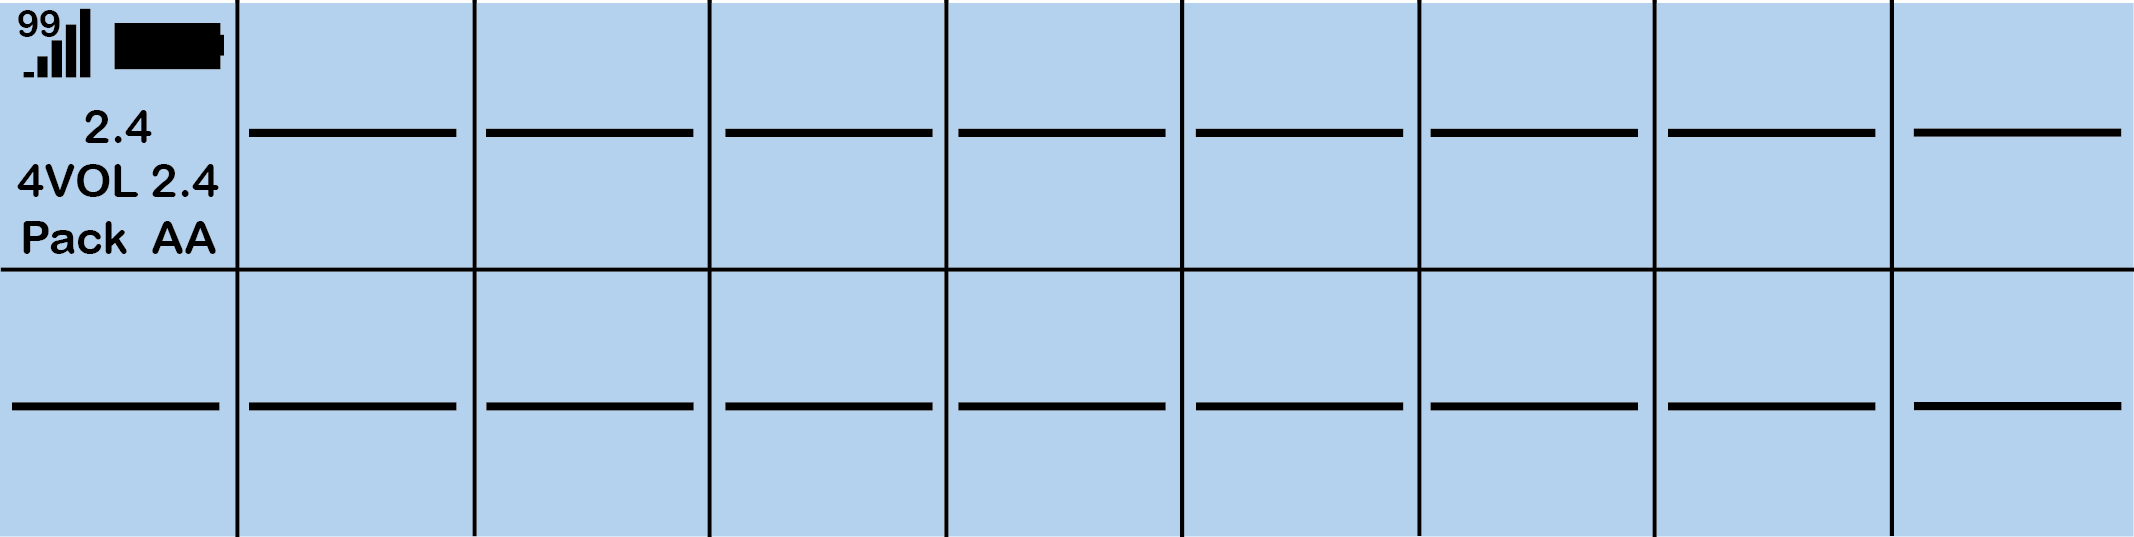
- The empty CU Home screen will show.

CU LCD: CU Primary Screen after Auto Configure
- Continue to pair Radio Packs. See for instructions on setting up and using Radio Packs with your system.
CU LCD: Radio Pack Paired with Auto Configured System
Auto Configure Default CCF
The default settings created by the auto configuration process for Conferences and Profiles are shown in the figures below.

Auto Configure Default Conferences
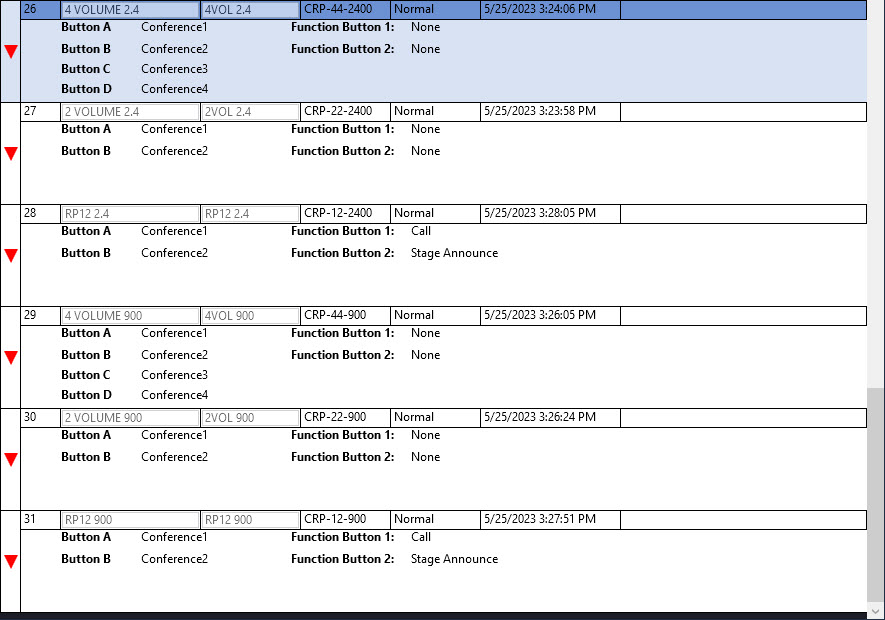
Auto Configure Default Profiles
Not Pictured: CRP-C12