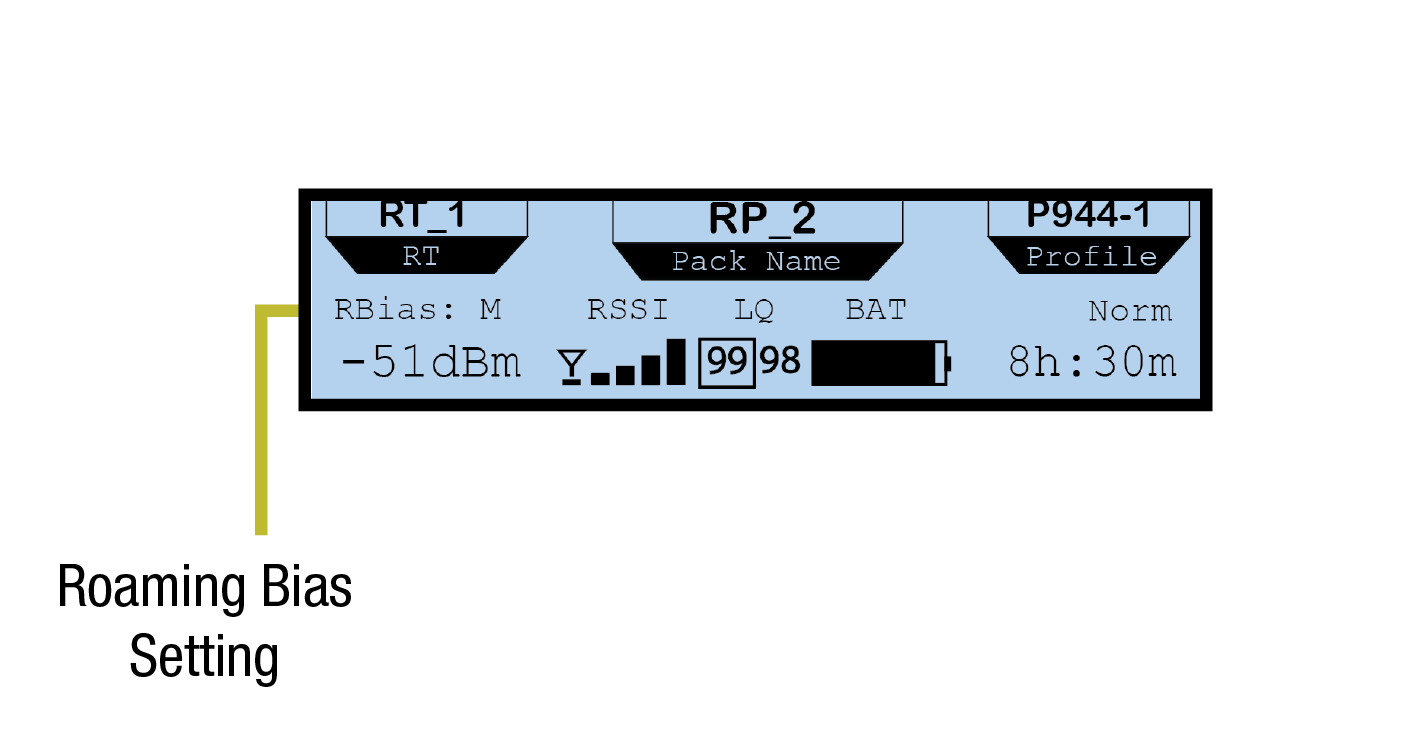
The Roaming Bias Radio Pack (RP) setting offers users the ability to set RPs to one of three different sensitivity levels for seamless roaming between compatible Radio Transceivers (RTs). These settings dictate how often an RP will initiate a scan to detect whether a stronger signal is available. If a stronger signal is not detected, the RP will remain with its current RT.
The roaming bias option provides users the best possible wireless experience in light of operating environment differences, dependent on the venue and other spectrum conflicts.
- High (Default) - The “High” setting uses both Link Quality (LQ) and Radio Signal Strength Indicator (RSSI) as metrics in determining roaming behavior. When set to “High,” RPs will initiate a scan if LQ is less than or equal to 92 or if RSSI is less than or equal to -86.
- Medium - RPs, by default, are set to a roaming bias of "Medium." RPs set to “Medium” roaming bias use LQ only to determine their roaming behavior. When set to “Medium,” RPs will initiate a scan if LQ is less than or equal to 88.
- Low - RPs set to “Low” roaming bias use LQ only to determine their roaming behavior. When set to “Low,” RPs will initiate a scan if LQ is less than or equal to 85.
This setting can be found in the Radio Pack menu under Tech Menu.
- Access the RP menu and select Tech Menu. Press F2 (ENT).
- Scroll and select Roaming Bias. The bias setting will be displayed on the right-hand side. Press F2 (ENT) to view a list of available alert options.
- Scroll and select from the following: High, Medium, or Low.
- Press F2 (SAVE). Once saved, the screen will return to the previous menu.

Roaming Bias Indicator on Standard-Sized RP Secondary Screen

Roaming Bias Indicator on Compact-Sized RP Secondary Screen

Customizing Roaming Bias